
Creating a watchlist on TradeVision is a powerful way to enhance your trading experience. It allows you to easily track your favorite stocks, helping you stay organized and informed about market trends. Let’s take a closer look at how to set up your watchlist!
Why Create a Watchlist?
A watchlist is a powerful tool for traders and investors. It helps you:
- Monitor stocks that interest you in real-time
- Stay updated on market movements and trends
- Make informed decisions based on your observations
Two Easy Ways to Create a Watchlist
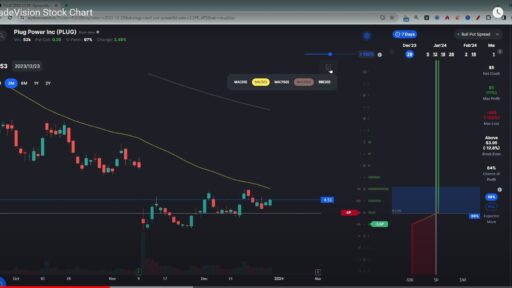
Method 1: Using the Visualizer
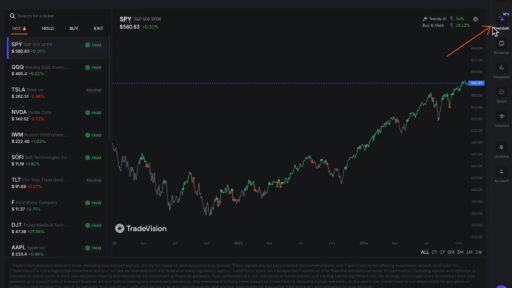
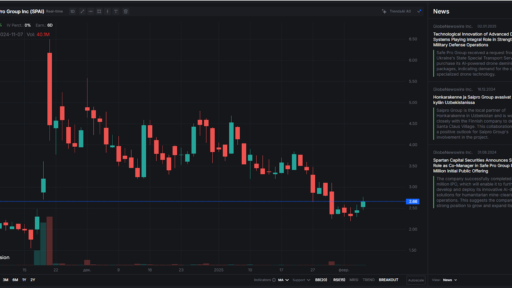
- Access the Visualizer: Look for the visualizer on the right-hand side of your screen.
- Create Your First Watchlist: If you haven’t created a watchlist yet, a prompt will appear asking if you’d like to get started. Click to proceed.
- Select Your Stocks: Choose the tickers you want to monitor. You can check off your favorite options to keep them organized.
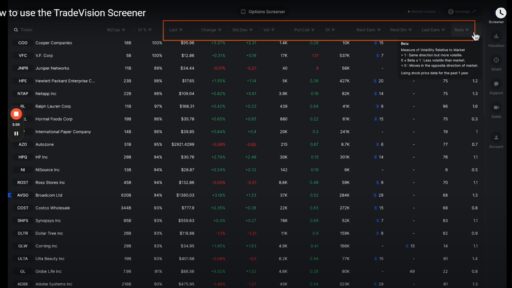
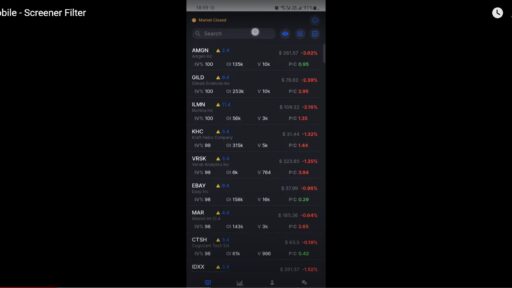
Method 2: Via the Screener
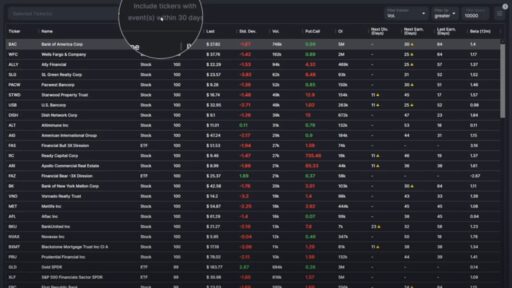
- Navigate to the Screener: Click on the “Screener” option in the upper right corner of your TradeVision interface.
- Set Your Criteria: Here, you can filter stocks based on various parameters, such as upcoming earnings. Options include:
- Include tickers with earnings in the next 30 days
- Exclude earnings tickers
- Only include tickers with earnings within the next 30 days
- Select Trend Indicators: You can also utilize the two models available—Trends AI version 3 and Trends AI A0—to help identify bullish or bearish trends.
Creating Your Watchlist
Now that you know how to access watchlist options, let’s walk through creating a couple of watchlists.
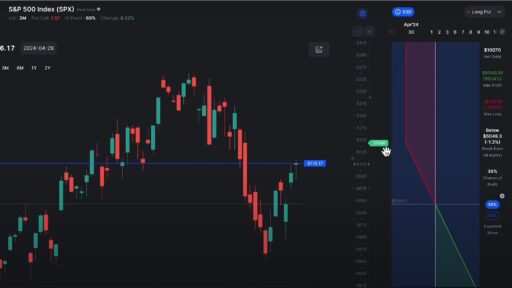
- Default Watchlists: You’ll see options for S&P 500, NASDAQ 100, All Stocks, and ETFs at the top. Click on any of these to view the corresponding tickers.
- Create a New Watchlist: Click the bookmark icon at the top of the screen and select “Create Watchlist.” Name your watchlist (e.g., “Technology”).
- Add Tickers:
- For your Technology watchlist, type in ticker symbols like MSFT (Microsoft), NVDA (NVIDIA), and AAPL (Apple). After each entry, click “Add.”
- Save Your Watchlist: Once satisfied, click “Save” and exit the watchlist screen.
- View Your Watchlist: You can access your new watchlist by clicking on the watchlist button and selecting it from the dropdown menu.
Example: Creating a Financials Watchlist
Let’s create another watchlist, this time for financial stocks.
- Create a New Watchlist: Click on “Create Watchlist” again and name it “Financials.”
- Add Tickers: Include ticker symbols such as JPM (JP Morgan), V (Visa), and MA (MasterCard). Click “Add” after each entry.
- Save Your Watchlist: Hit “Save” to finalize your financials watchlist.
- Access Your Watchlists: You can now see both your Technology and Financials watchlists in the dropdown menu.
Adding Stocks on the Fly
You can easily add stocks to your watchlist while browsing. For example, if you come across MU (Micron Technology) while looking at the S&P 500:
- Quick Add: Click the bookmark icon next to the ticker and choose the watchlist you’d like to add it to (e.g., “Technology”).
- Create a New Watchlist: If you find a stock like AAL (American Airlines) that doesn’t fit your existing categories, you can create a new watchlist for “Airline Companies” and add it there.
Conclusion
Creating a watchlist on TradeVision is a straightforward process that can significantly enhance your trading strategy. Whether you’re focused on specific sectors or tracking general market trends, having a dedicated watchlist will keep you organized and informed.
Give it a try today, and happy trading! If you found this guide helpful, be sure to share it with fellow traders. Thanks for reading!